Why Do Eyes Look Black in Photos? A Wedding Photographer’s Guide
 Oct, 19 2026
Eye Catchlight Simulator
Diagnosis & Tips
Adjust the sliders to see how different conditions affect the eye. Aim for a visible white dot (catchlight) to ensure lively eyes.
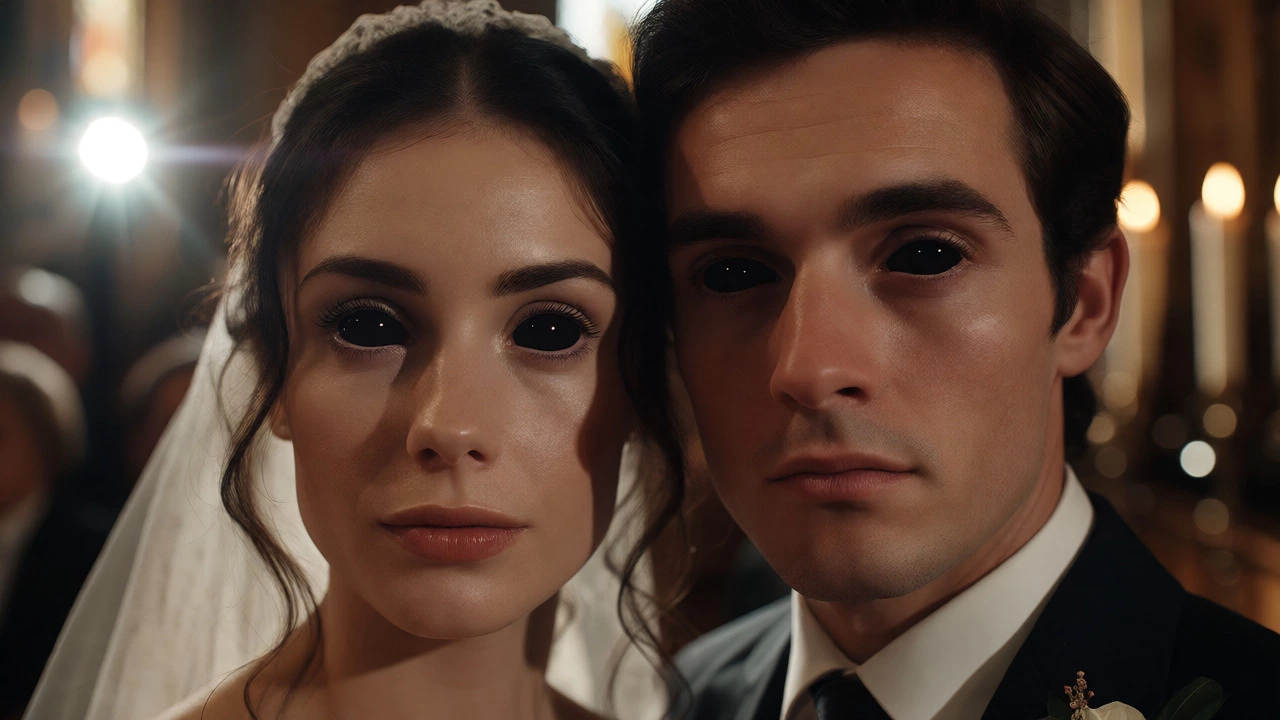
You’ve just finished a beautiful indoor ceremony. The couple looks radiant, the decor is stunning, and you’re feeling confident about your shots. But when you pull up the images on your laptop for the first review, there’s a glaring issue: the bride and groom have pitch-black, soulless eyes. It’s a common nightmare for wedding photographers who rely heavily on artificial light or shoot in low-light venues without proper modifiers.
This isn’t bad luck, and it’s rarely a sign that your camera is broken. It’s a predictable result of physics interacting with biology. When you understand why this happens, you can stop guessing and start controlling the outcome. Whether you are shooting a candlelit reception or a dimly lit church, knowing how to manage light sources will save you from hours of retouching or, worse, delivering unusable portraits.
The Biology Behind the Black Hole Effect
To fix the problem, you first need to respect the mechanism causing it. Your eyes are essentially biological cameras with an adjustable aperture called the pupil. This opening regulates how much light enters the retina. In bright daylight, the pupil constricts to a tiny pinhole to protect the sensitive cells behind it. In dark environments, like a evening wedding reception, the pupil dilates-widens significantly-to capture every available photon.
Here is the trap: when a pupil is wide open, it absorbs almost all the light hitting it. There is very little surface area left to reflect light back toward your lens. If you use a harsh, direct light source (like a bare speedlight) from the front, the light hits the black iris and pupil and gets absorbed rather than reflected. Without reflection, the eye appears as a flat, black void. You lose the "spark" that makes a portrait feel alive.
The Missing Link: Catchlights
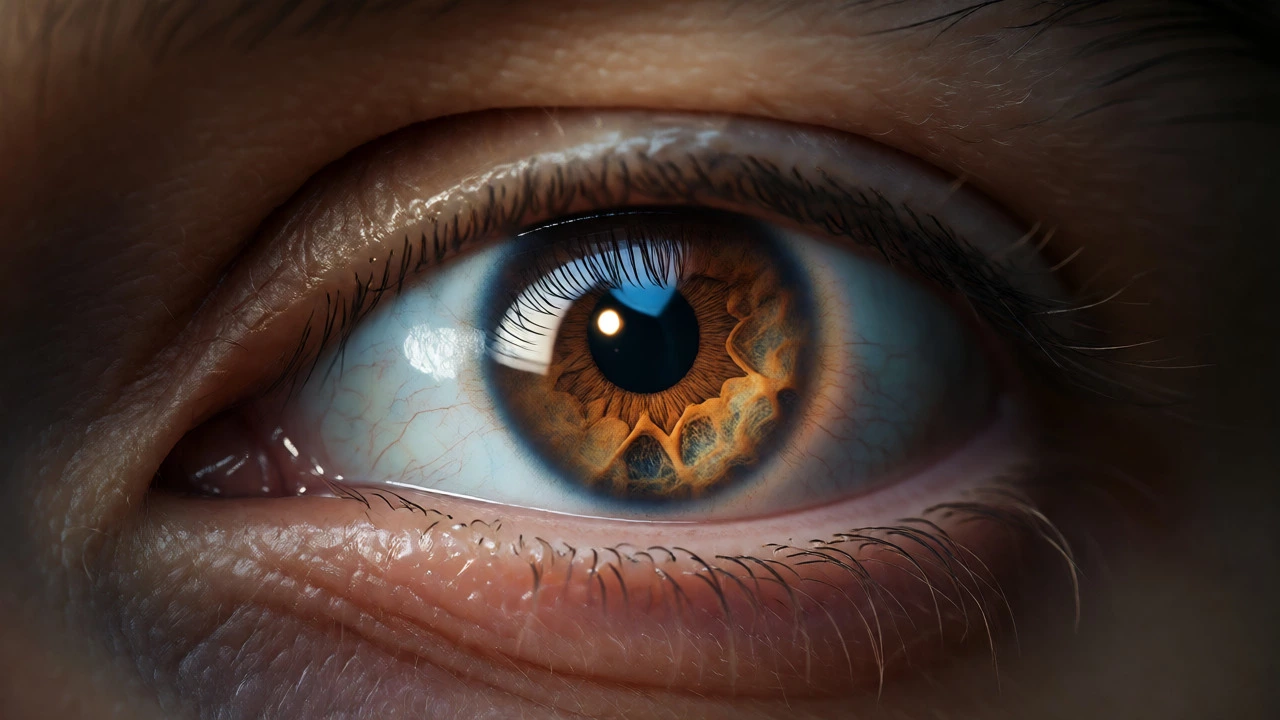
The secret ingredient you are missing is the catchlight. These are the small, bright reflections of your light source visible on the wet surface of the cornea. They aren't just cosmetic; they provide depth, dimension, and life to the subject's gaze. Without them, eyes look dead. With them, even a distant subject feels connected to the viewer.
Catchlights are created by any reflective light source positioned in front of the subject. A window, a ring light, a softbox, or even a white wall reflecting a strobe can create them. The shape of the catchlight depends on the shape of the light source. A square softbox creates a square highlight; a round umbrella creates a circular one. Many photographers prefer round catchlights because they mimic natural sunlight and look more organic.
If your eyes look black, it usually means one of two things happened:
- No Light Source: You shot in ambient light only, and the pupils were so dilated that no distinct reflection was captured.
- Wrong Angle: The light source was too high, too low, or directly behind the camera axis in a way that didn't bounce into the eye.
How Camera Settings Contribute to Dark Eyes
While biology sets the stage, your camera settings often write the final scene. Understanding the relationship between exposure, ISO, and shutter speed helps you diagnose why the eyes went dark.
High ISO Noise Reduction: Modern cameras apply noise reduction algorithms at higher ISOs (like 3200 or 6400). These algorithms smooth out grain, but they also smear fine details. Unfortunately, the subtle texture of the iris and the faint glow of a catchlight are often the first casualties. The software interprets these delicate highlights as noise and blends them into the surrounding blackness.
Underexposure: If you underexpose the image to save highlights in a bright dress or suit, you crush the shadows. Black eyes are already dark; underexposing them pushes the values to absolute zero. Once a pixel hits pure black (value 0), there is no data left to recover in post-production. You cannot lift a shadow if there is no shadow detail to begin with.
Flash Sync Speed: If you are using a flash but the background is still dark, check your sync speed. If your shutter speed is too fast, you might be cutting off part of the flash burst, resulting in uneven illumination that fails to properly illuminate the face and eyes.
Lighting Techniques That Save Your Shots
You don't need expensive gear to fix this, but you do need to change how you position your light. Here are three proven methods to ensure bright, lively eyes in challenging wedding conditions.
1. The Bounce Flash Technique
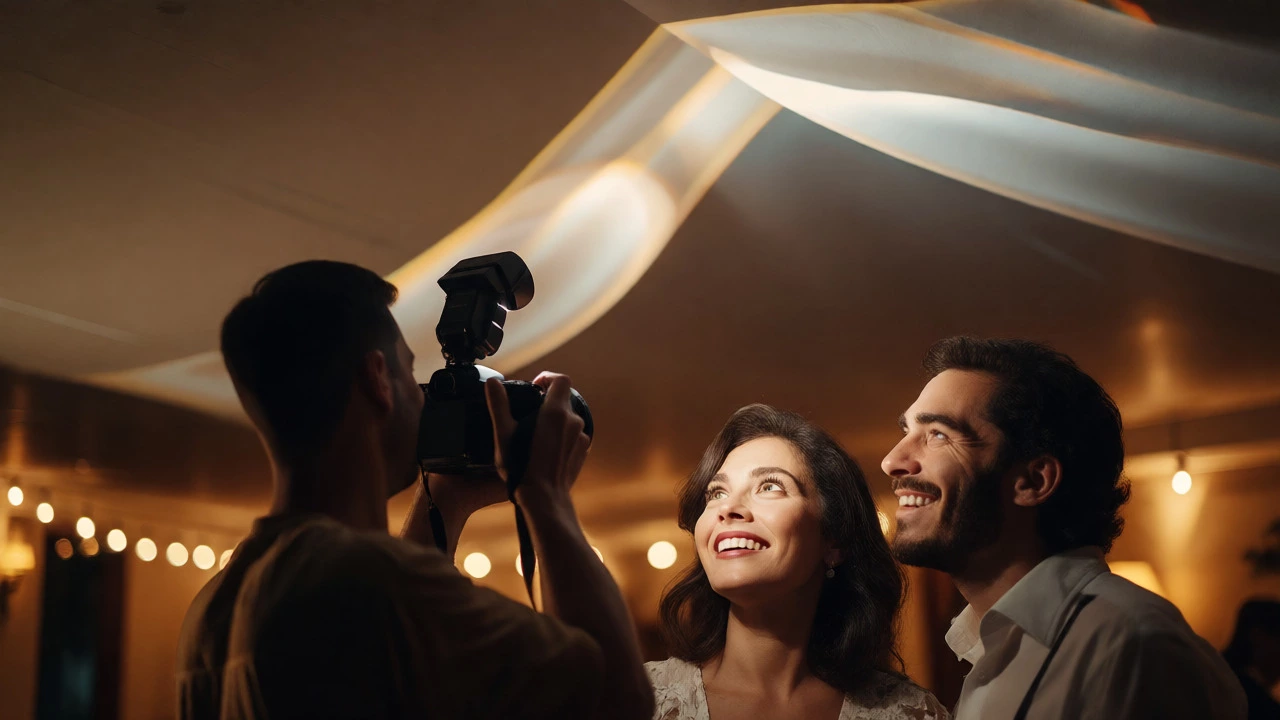
Direct flash is the enemy of good skin tones and expressive eyes. Instead of pointing your speedlight straight at the couple, tilt the head upward and aim it at a nearby ceiling or wall. This turns the entire room into a giant softbox. The light bounces off the surface, diffuses, and wraps around the subjects. Because the light source is now larger and softer, it reflects gently off the cornea, creating a broad, flattering catchlight. Note: This only works if the ceiling is white or neutral-colored and within 10-15 feet. Yellow or brown ceilings will cast ugly color casts.
2. Use On-Camera Diffusers
If bouncing isn't possible (e.g., a cathedral with vaulted ceilings or a venue with black drapes), attach a diffuser cap or a small softbox to your flash. This spreads the light beam over a wider angle. While not as effective as bouncing, it reduces the harshness that causes deep shadows in the eye sockets. For better results, pair this with a small white card attached to the side of the flash to create a secondary reflection.
3. Positional Awareness
Sometimes, moving yourself is easier than changing your gear. Have the couple face slightly toward the nearest light source. If there is a chandelier, a window, or even a brightly lit bar sign, angle their faces so the light hits the front of their eyes. Even a small amount of directional light will create a pinpoint catchlight. Ask them to look slightly up or toward the light source rather than staring blankly ahead.
Post-Processing Fixes: When You Can’t Fix It in Camera
Despite your best efforts, some shots will come out with dull eyes. Don’t panic. Digital tools can revive them, but you must work carefully to avoid looking fake.
| Method | Tool Used | Best For | Risk Factor |
|---|---|---|---|
| Exposure Lift | Lightroom/Camera Raw | Eyes that are dark but retain texture | Low - Natural look |
| Dodging | Photoshop Brush | Adding specific highlights/catchlights | Medium - Can look painted |
| Clone Stamp | Photoshop | Replacing a missing catchlight entirely | High - Hard to match perspective |
Lifting Shadows: Start by selecting the eye area with a radial filter or local adjustment brush. Increase the exposure and shadows sliders. Be gentle. If you push too hard, you’ll reveal noise and make the eyes look glowing or alien-like. Aim for a subtle increase in brightness that reveals the iris pattern.
Dodging Highlights: To simulate a catchlight, use a small, soft white brush set to "Dodge" mode with a low flow (10-15%). Paint a small dot in the upper corner of the iris. This mimics the reflection of a light source. Keep it small and sharp. Large, blurry blobs look unnatural.
Cloning Catchlights: If an eye is completely devoid of reflection, find another photo from the same session where the catchlight is visible. Copy that reflection and paste it onto the dull eye. Transform and rotate it to match the angle of the head. This requires precision but yields the most realistic results.
Preventing Black Eyes Before the Wedding Starts
Proactive planning beats reactive fixing every time. During your engagement shoot or initial consultation, test the venue’s lighting conditions. Identify areas with mixed lighting or extreme darkness. If you know the reception hall has yellow tungsten bulbs and no windows, plan your lighting kit accordingly. Bring extra batteries for your flash, as frequent firing drains power quickly. Also, remind the couple to blink naturally during posed shots. Dry eyes reflect less light, making catchlights harder to capture. A quick blink before the shutter clicks moistens the cornea, improving reflectivity.
Why do my eyes look red in photos but black in others?
Red-eye occurs when the flash is close to the lens axis and the subject is in the dark, causing light to bounce off the retina's blood vessels. Black eyes happen when the pupil is dilated but no light reflects off the cornea surface. Red-eye is a reflection error; black eyes are a lack of reflection.
Can I fix black eyes in JPEG files?
Yes, but it is harder than with RAW files. JPEGs have compressed data, so lifting shadows often introduces banding or artifacts. Use local adjustments sparingly and avoid pushing exposure beyond +1.0 EV to maintain quality.
Does wearing contact lenses affect eye appearance in photos?
Sometimes. Clear contacts rarely cause issues. However, colored contacts can reduce the contrast between the iris and pupil, making eyes look flatter. Additionally, if the lens is dirty or dry, it may scatter light differently, affecting catchlight clarity.
Is it better to use a ring light for weddings?
Ring lights create perfect circular catchlights and minimize shadows, which is great for close-ups. However, they can flatten facial features and look overly clinical for candid wedding moments. They are excellent for detail shots or beauty portraits but less ideal for full-body group photos.
Why do eyes look black in night portraits without flash?
Without a strong external light source, the pupils dilate fully to gather ambient light. Ambient light is often diffuse and coming from multiple directions, failing to create a distinct specular highlight on the cornea. The result is a uniform black pupil with no defined reflection.