DIY Wedding Invites: Your Handy Guide to Handmade Invitations
Want invites that feel personal without splurging on a designer? You can create beautiful wedding invitations at home with a few tools, a clear plan, and some creativity. Below you’ll find the must‑have pieces, a step‑by‑step workflow, and quick shortcuts that keep stress low and style high.
Basic Elements Every Invite Needs
Before you pick paper or fonts, list what belongs on the card. Our post “What Should Wedding Invites Include? The Complete 2025 Checklist” breaks it down into three groups:
- Essentials: names of the couple, date, time, venue, and RSVP details.
- Extras: dress code, wedding website, registry info, or a short welcome note.
- Design touches: colors, pattern, and any illustration that matches your theme.
Having this checklist handy saves you from forgetting a key line and helps you decide how much space you need on each card.
Step‑by‑Step DIY Process
1. Choose your paper. Heavy cardstock (‑300gsm) feels luxe and handles ink well. If you like texture, try linen‑finished paper; for a classic look, go matte or glossy based on the finish you prefer.
2. Pick a layout. Free templates on Canva or Adobe Express let you drag‑and‑drop text boxes. Keep fonts readable – one script for names and a simple sans‑serif for details works every time.
3. Write the wording. Use the wording examples from our “What Should Wedding Invites Include?” guide. A friendly tone works well: “We’re getting married! Please join us on…”. Add a short line about the dress code if you have one.
4. Add RSVP cards. The post “What Does the M Mean on an RSVP Card?” explains common symbols, but a plain “Accept/Decline” box with a line for the number of guests is enough. Include a self‑addressed stamped envelope to make replies easy.
5. Print. Home printers can handle small batches; for larger runs, a local print shop does a cheap bulk job. Test one copy first to check alignment and colour.
6. Assemble. Use a double‑sided tape runner or a small glue dot to attach the RSVP card to the invite. Slip the whole set into a matching envelope – you can buy pre‑sized envelopes or cut your own from cardstock.
7. Mail on time. Our article “How Long Before a Wedding Should You Send Invitations?” recommends sending them 6‑8 weeks before the big day, or 8‑10 weeks for destination weddings.
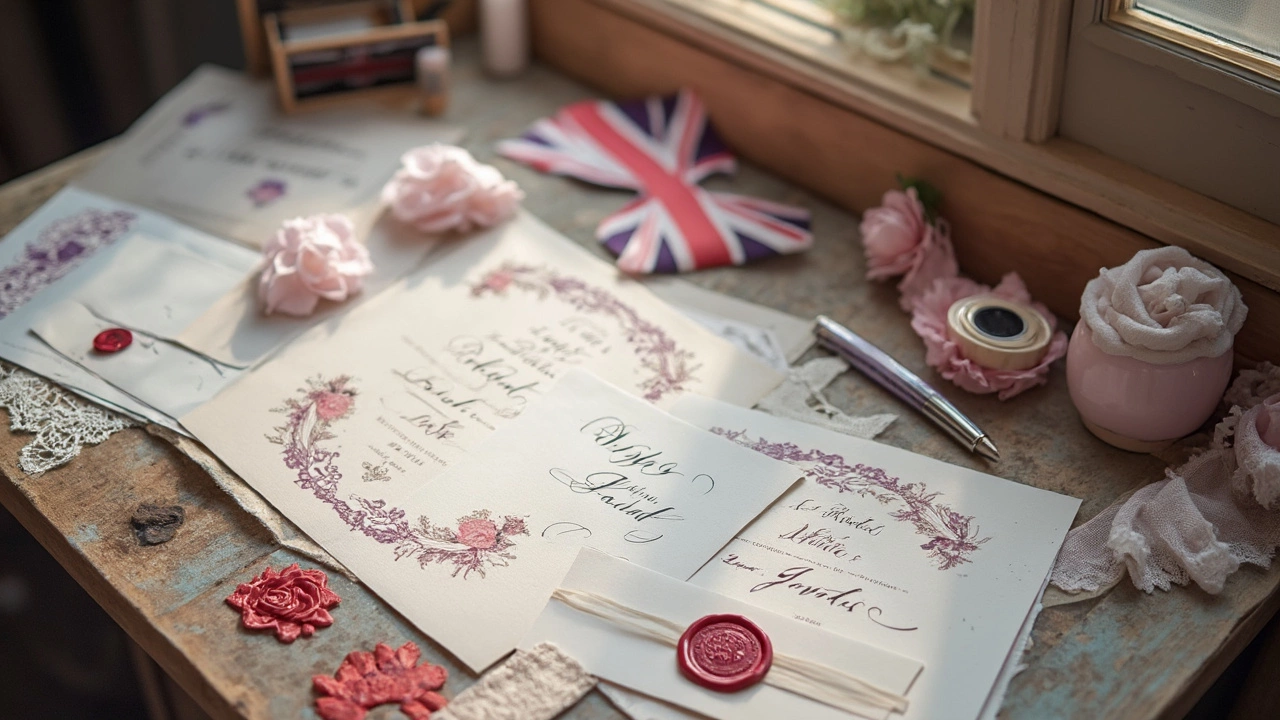
Quick tip: add a handwritten note or a tiny dried flower to each envelope for a personal touch that costs almost nothing but looks thoughtful.
Feel free to explore other posts on the tag page for deeper dives – like “Standard Wedding Invitation Weight” for postage tips or “Wedding Invitations: Matte or Glossy Cards?” for finish decisions. With the right checklist and a simple workflow, your DIY invites will feel as polished as any store‑bought set, and you’ll have the satisfaction of having made them yourself.